This is a long post but it is so worth reading if you are struggling or want to improve the way you teach literacy to your students with significant disabilities. In the short time I have been doing this I can already see the benefits and wish I would have started this sooner.
Teaching reading and writing to our students with significant disabilities can be tricky. You may often think, do they get this? Is this worth my time? How do I get them to interact if they are non verbal?
No worries, I have had these same thoughts until recently. I attended a training at my local ISD and left feeling so inspired.
Before diving into this I want you to know I have 11 students on my caseload. I have 3 students who I use this method with and it takes about 45-60 minutes a day. All 3 students are non verbal. One has a communication device, can spell and will hold a writing utensil for 5 minutes or longer. The other 2 students do not have a communication device, cannot yet identify letters and before starting this literacy approach would not hold a writing utensil independently.
My other students are readers and writers (to some extent) and this literacy approach is not appropriate for them. This was a picture I took at the conference I went to. Sorry the quality is terrible but it is a good way to figure out if your student(s) is an emergent or conventional reader and writer.

Here is how I incorporate literacy into my classroom for my students with significant disabilities.
Start by reading this book.
After reading the book you will see that reading and writing are split into "4 blocks" (Shared Reading, Shared Writing, Independent Reading, Independent Writing). Here is how I incorporate the blocks into my day/week.
Shared Reading: I start each session with a shared reading. It is a great way to get the kids engaged and excited about learning. You can use any book you would like. I use the same book for 1 week. I have access to the Unique Learning System Curriculum which is awesome but not required.
Once you have selected your book it is important to figure out how your students are going to interact with you. If they do not have a communication device you will have to create something to help them engage in the lesson. This is why Unique is awesome....they have a communication board at the end of all of their books :).
I print a communication board for all of my students (even the ones with communication devices) and place it in front of them. As you can see these are not anything fancy. I don't even laminate them. I simply print them on regular paper and put them inside of a gallon size baggie.
While reading the pages it is important to remember the acronym "C.A.R." to maximize student engagement.
The "C" stands for Comment. A comment is something as simple as Ahh! or Wow! or in my case with our book last week Yum!!.
The "A" stands for Ask. Ask your students a question about the page. Such as "Do you put lights on your tree?", or "What do you put on your tree?"
Then wait......and maybe wait.....and wait some more for their response.
The "R" stand for Respond. This is your opportunity to interact with your students. See what answer they pointed to. Even if the answer is incorrect, the goal is to have the students engaged. So if you ask "Do you put lights on your tree?" and they point to turkey on their communication device, make a joke of it. "You put turkey on your tree? That is funny!".
Then repeat this with every page. Try asking a variety of questions or if you have a student who is working solely on yes/no questions ask them those. This is your chance to get your students engaged.
As I said before I read each story for 1 week. I try to ask the same questions everyday. That way my students become familiar with the answers and can feel successful. The only thing I do differently is review the vocabulary on Monday's and Wednesday's.
Shared Writing: For the shared writing portion you do something different everyday.
-Monday: You have your students "write" their sentences. Make sure to have a common sentence starter. I tie this into the story we are reading so that the students get more familiar with the vocabulary and they can use the same communication device. I make a chart and write who "wrote" each sentence. When writing the sentences it is important to line all of the words/sections up (don't mind my first sentence....it is a little off and bothered me all week!!).
Tuesday: Reread and Work with the sentences. I have a pointer and read each sentence to the students. Make sure to say who wrote each sentence when reading them. Look at the kids and make sure they know you are reading their sentence. I then select something in the sentences we want to focus on. This week we worked on writing the word My.
I start by saying what we are going to work on. All of my students have their own paper and the staff member working with them has the writing utensil. All of my kids use skinny markers at this time. I show the students how to make the letter. I then break it down and we work on it section by section. The students then make the letter using the hand over hand approach EXCEPT....the students hand is over the adults hand. This way the students can feel how you are moving your hand instead of their hands being restricted when your hand is over theirs (try it....you will see what I mean :)).
Wednesday: Cut up sentences. Write the students sentence on a sentence strip. If you have students who are working on typing they can type their sentence and then use that to cut. When writing the sentence make sure to have an adequate amount of write space in between words.
Students will then be asked to cut apart their sentences. My students all have support with this however they are expected to let the adult know where the sentence is supposed to be cut. The purpose of this is to have your students learn that the white space is separating words.
Sometimes we have accidents....which is OKAY!!! This is a perfect time for a teachable moment. Simply let them cut it and correct them....then tape the words back together.
Once the sentence is cut have them put it back together. I give my student a model to follow.
Thursday: BE THE SENTENCE. Write the words of the sentence on separate pieces of paper and hand them out to the kids....and maybe adults if you have more words than students. The students will then rearrange themselves (or your will help them) to form the sentence. You may need to have a model available and A LOT of patience for this lesson!!!
Friday: Make the book. Use the sentences the students cut up on Wednesday and make a book. You could also make this on the computer if your students have goals in that area....mine don't so we not only use this time to re-visit our sentences but work on our fine motor skills. Have the kids look up pictures on the internet to match their sentence. You could also have kids bring in pictures (since you will know what their sentence is on Monday...they will have time).
**Yes my little guy is holding a glue stick all by himself!!!!!
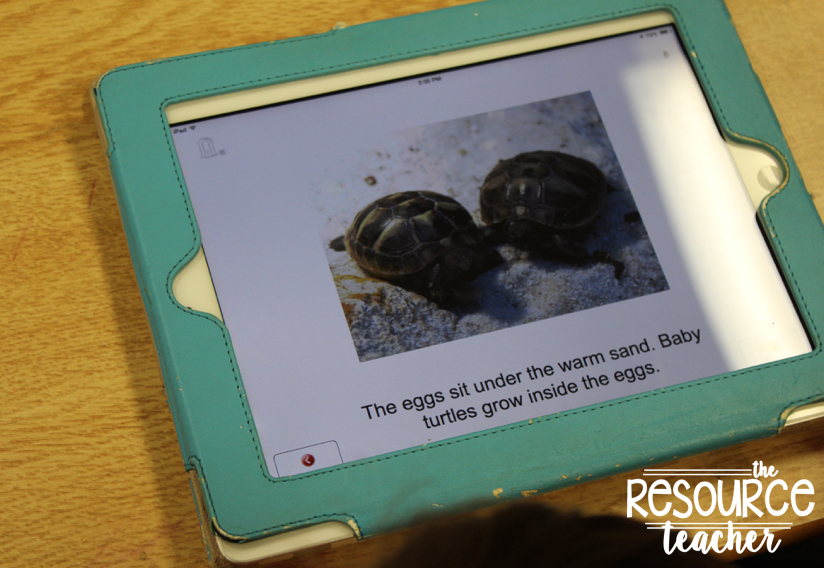
Independent Reading: After your direct reading and writing instruction students should have the opportunity to do independent reading. This can look different for every student. You can have kids read on the iPad, read adapted books OR even read the books you made during previous weeks. Build your students stamina. I will admit during this time my staff or the iPad "voice" is reading to my kids. However....my students pick what they want to read.
You could use some of the following sites for books online: Raz-Kids, Book-Flix, News-2-You (Free app if you have the online subscription), Storyline Online (free), and our new favorite Tar Heel Reader (free)!!
Independent Writing: You're probably thinking, how the heck are my students going to be able to write something. This is probably the hardest part of the whole process. It is hard because it requires A LOT from the kids. However, it requires a lot from you and your staff too. You have to insure that everyone sticks with this....you can at times think "Why are we doing this?", "Will this ever happen?".
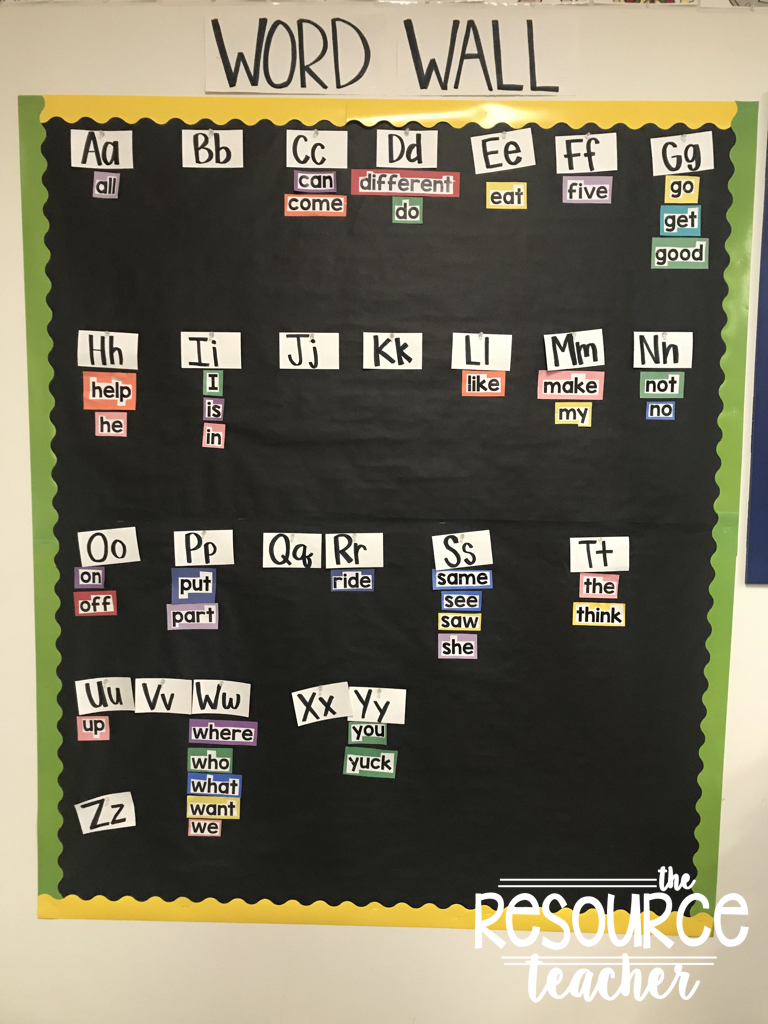
We start by making sure every student has access to the ENTIRE alphabet and CORE vocabulary. This can look different for each student depending on their cognitive abilities. I have 2 students who have access to the alphabet and CORE words but only one at a time. I have another student who is able to look at the entire alphabet at once and has access to all of the CORE vocab and tons of fringe vocabulary.
I then tape their paper to the desk. Trust me.....tape is your best friend!!!!
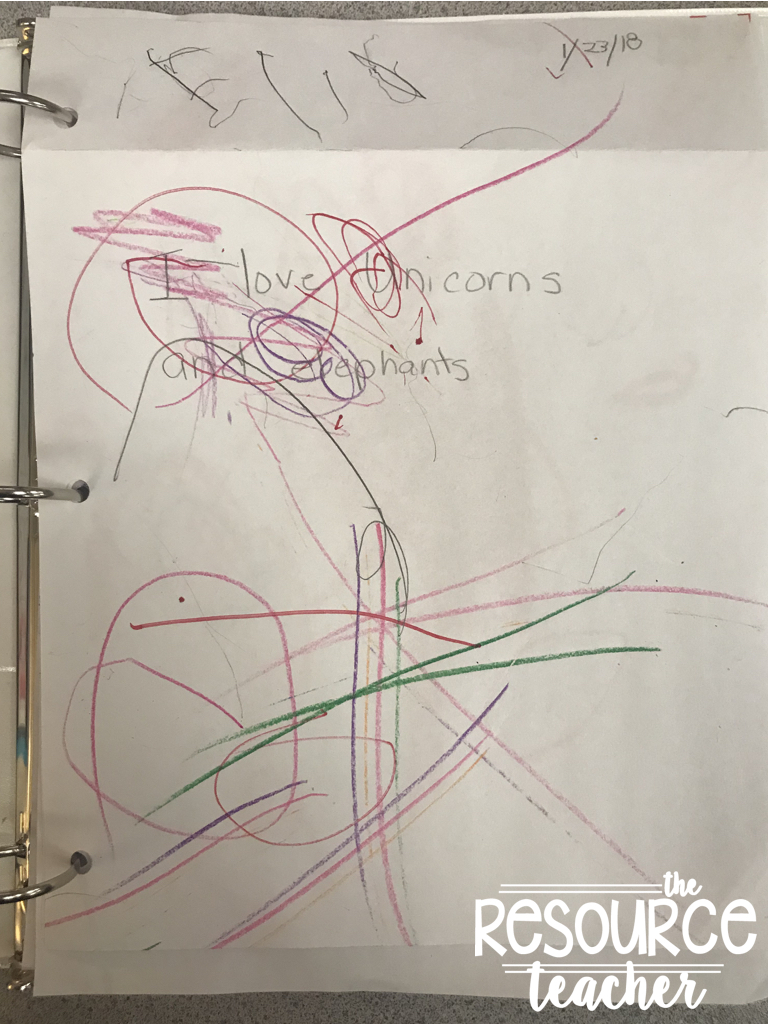
Students then tell us what letter they want by flipping through, shaking their head when we get to a letter etc. We then give them the writing tool and let them go. It is so important that you do not form the letters for them. This is INDEPENDENT writing time. I do have my staff write what the letter is supposed to look like next to their letter just so we know what they are trying to say. When kids are picking letters I try to relate them to words. For example: "Ohh, you picked L, maybe for lion or library or even Liam."
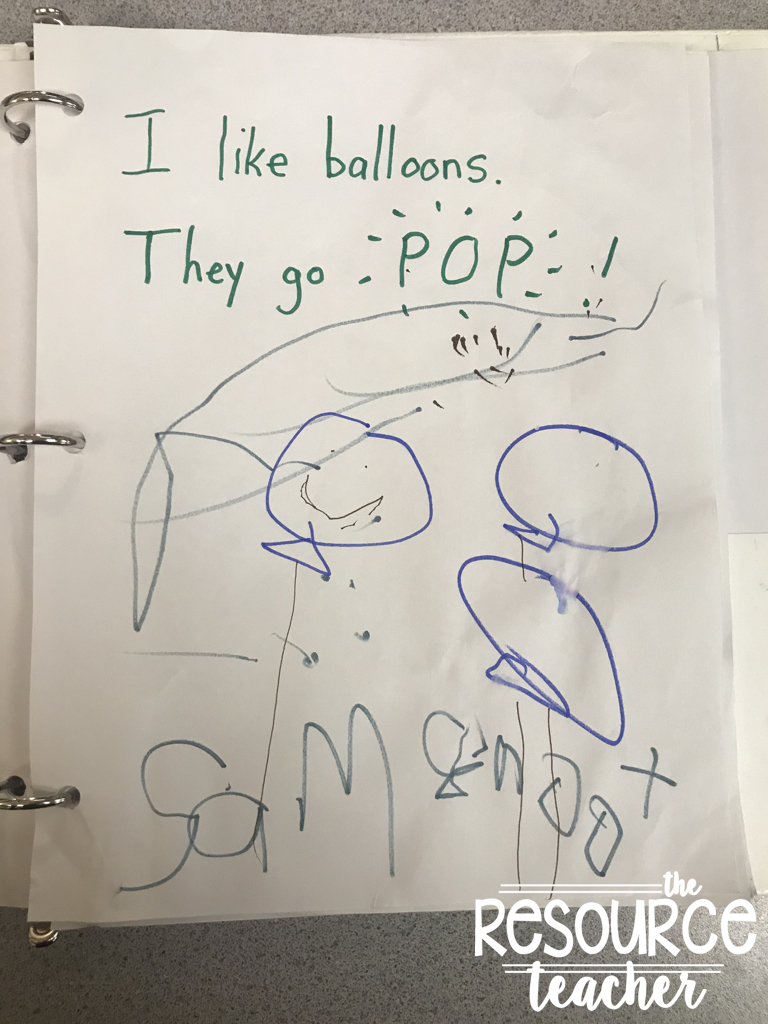
These writing pieces may look like scribbles to most but to everyone in my classroom these are the students work. These pages show the 10 minutes they put into writing for the day. These markings show the student was able to look at the paper for 2 seconds or hold a marker for 5 seconds without throwing it. Even though this may be the hardest part of the process to believe in, it is by far my favorite.
But just like in every classroom mine is not perfect....we too get frustrated and like to throw things. Don't get mad. They are just markers. The student can pick it up after they write.
I store all of the students work in a folder and pull it out everyday when we start our lesson.
What are your thoughts about this literacy approach? Will you give it a try in your classroom? Do you see the benefit?








 Follow my blog with Bloglovin